
instruction manual for cookworks breadmaker
Welcome! This guide unlocks your Cookworks breadmaker’s potential, offering detailed instructions for operation, maintenance, and troubleshooting, as found in various manuals.
Explore comprehensive PDF resources for models like B6989, EHS20AP-P, B0906, and Fp902, ensuring a delightful baking experience every time.
What’s Included in the Box
Upon opening your Cookworks Breadmaker package, carefully verify all components are present. Typically, you’ll find the breadmaker unit itself, a removable bread pan crucial for baking and easy removal of your loaf. A kneading blade is also included, essential for mixing and developing the dough’s texture.
Essential for getting started is the instruction manual – available as a downloadable PDF for models like B6989, EHS20AP-P, and others – providing detailed guidance. Some models may include a measuring spoon and cup for accurate ingredient addition.
Check for accessories such as a recipe book offering a range of baking ideas. Ensure the power cord is present and undamaged. Refer to your specific model’s manual (e.g., Fp902) to confirm the complete list of included items and familiarize yourself with each part before first use.
Safety Precautions
Before operating your Cookworks Breadmaker, prioritize safety. Always ensure the appliance is placed on a stable, heat-resistant surface, away from water sources. Never immerse the breadmaker housing in water or any other liquid.
Exercise caution with the kneading blade – it’s sharp! Unplug the appliance before cleaning or changing parts. Avoid touching hot surfaces during or immediately after baking; allow sufficient cooling time.
The instruction manual (available for models like EHS15AP-P and others) details crucial safety information, including the correct voltage (230-240V AC) and fuse rating (13A). Do not operate the appliance with a damaged cord or plug. Keep the appliance out of reach of children. Always use the breadmaker as intended, following the guidelines in the provided manual.

Understanding the Parts
Familiarize yourself with your Cookworks breadmaker’s components! Manuals detail the bread pan, kneading blade, control panel, and housing – essential for successful baking.
Bread Pan and Kneading Blade
The bread pan, a crucial component, securely holds ingredients during mixing, kneading, and baking. Ensure it’s properly inserted and coated with non-stick spray, as detailed in your model’s manual.
The kneading blade, typically removable, mixes and kneads the dough to perfection. Different models may have slightly varying blade designs; consult your instruction manual for proper attachment and removal.
Proper care is vital: Always thoroughly clean both the bread pan and kneading blade after each use. Manuals emphasize avoiding abrasive cleaners that could damage the non-stick coating. Some blades may be dishwasher safe – verify this in your specific model’s guide. Regular maintenance ensures optimal performance and longevity of these essential parts.
Control Panel Overview (Model Specific)
The control panel varies significantly between Cookworks breadmaker models – B6989, EHS20AP-P, and others. Your instruction manual is key to understanding its functions.
Common features include program selection buttons (White Bread, Whole Wheat, French Bread, Dough), crust color control, start/stop buttons, and often a timer function. Some models feature digital displays for program and timer settings.
Refer to your manual for specific button layouts and program durations. Understanding the panel allows precise control over baking parameters. The manual details how to adjust settings for loaf size (750g or 1kg on some models) and ingredient additions. Familiarize yourself with error codes displayed, as explained in the troubleshooting section of your guide.
Getting Started: First Use
Before baking, carefully read your Cookworks breadmaker’s instruction manual. Initial setup involves cleaning the pan and blade, and a test bake is recommended!
Initial Setup and Cleaning
Unboxing and Preparation: Upon receiving your Cookworks breadmaker, carefully remove all packaging materials. Before the first use, a thorough cleaning is essential. The Bread Pan: Remove the bread pan and kneading blade. Wash them with warm, soapy water, ensuring all residue is removed. The Housing: Wipe down the exterior of the breadmaker with a damp cloth. Avoid immersing the main unit in water.
Blade Inspection: Check the kneading blade for any damage or debris. Ensure it’s securely attached to the shaft within the bread pan. Initial Run: Some manuals suggest running a simple cycle (like a dough cycle) without any ingredients to burn off any manufacturing residue. This ensures a fresh start for your baking adventures. Always refer to your specific model’s manual for detailed instructions.
Test Bake: A Simple White Bread Recipe
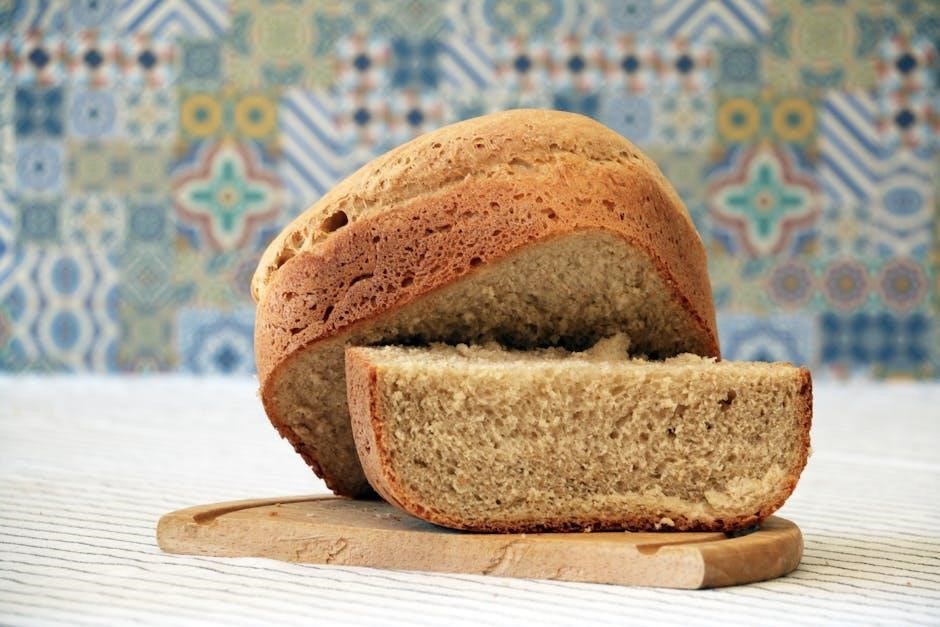
Beginner’s Delight: To familiarize yourself with your Cookworks breadmaker, start with a classic white bread recipe. Ingredients: Combine 300ml water, 500g strong white bread flour, 1 tsp salt, 1 tbsp sugar, and 1 tsp instant yeast in the bread pan. Ensure ingredients are added in the order specified in your model’s manual.
Program Selection: Select the “White Bread” program, typically with a 750g loaf setting. Choose your desired crust color – medium is a good starting point. The Baking Process: Press start and let the breadmaker work its magic! Once complete, carefully remove the loaf and allow it to cool completely before slicing. This test bake confirms proper functionality and helps you understand the baking cycle.
Basic Breadmaking Programs
Explore pre-set options! Your Cookworks breadmaker features programs for white, whole wheat, and more, simplifying baking with tailored settings for optimal results.
White Bread Program – Settings and Adjustments
The White Bread program is your starting point for classic loaves. Typically, this program utilizes a default cycle length and crust color setting, but customization is key! Refer to your model’s manual (B6989, EHS20AP-P, etc.) for specific timings.
Adjusting settings allows for personalized results. Experiment with crust color – light, medium, or dark – to achieve your preferred texture. Ingredient quantities are crucial; ensure accurate measurements as outlined in recipes. Some models allow adjustments to loaf size (750g or 1kg), impacting baking time.
Remember to select the correct program and settings before adding ingredients. The kneading and rising phases are automated, but monitoring is recommended. Consult the manual for troubleshooting tips if your loaf doesn’t rise or collapses.
Whole Wheat Bread Program – Key Differences
The Whole Wheat program differs from the White Bread setting due to the denser nature of whole wheat flour. This program typically extends the kneading and rising times to properly develop gluten, resulting in a lighter, more airy loaf; Consult your Cookworks manual (models B6989, EHS15AP-P, etc.) for precise timings.
Key adjustments often include increased liquid content, as whole wheat absorbs more moisture. Some recipes suggest adding a tablespoon of vital wheat gluten to improve texture. Be mindful of ingredient order; liquids first, then dry ingredients.
Monitor the dough during the kneading phase. It should form a smoother, more elastic ball than white bread dough. Adjust liquid levels slightly if needed. Refer to the manual for troubleshooting common issues like dense or crumbly loaves.
Advanced Breadmaking Programs
Unlock versatility! Explore specialized programs like French Bread and Dough, detailed in your Cookworks manual (B6989, EHS20AP-P), for diverse baking creations.
French Bread Program – Achieving a Crispy Crust
Master the art of French bread! Your Cookworks breadmaker, as detailed in manuals for models like B6989 and EHS20AP-P, features a dedicated French Bread program designed to replicate the texture and flavor of a traditional baguette. This program typically utilizes a longer rise time and a higher baking temperature.
Key to success: Achieving that signature crispy crust relies on precise ingredient ratios and program settings. Consult your instruction manual for recommended flour types – often a blend of strong bread flour and a small percentage of rye flour is ideal. Pay close attention to the water temperature; slightly cooler water can enhance crust development.
Experimentation is encouraged! Some models allow adjustments to crust color, enabling you to fine-tune the darkness and crispness. Remember to follow the manual’s guidance on ingredient order and quantities for optimal results. A spritz of water inside the bread pan before starting can also contribute to a superior crust.
Dough Program – For Homemade Pizza and Pastries
Unlock culinary creativity! The Dough program on your Cookworks breadmaker (referenced in manuals for models B6989, EHS20AP-P, and others) isn’t just for bread. It’s a versatile tool for crafting homemade pizza dough, sweet pastry doughs, and even cinnamon roll bases.
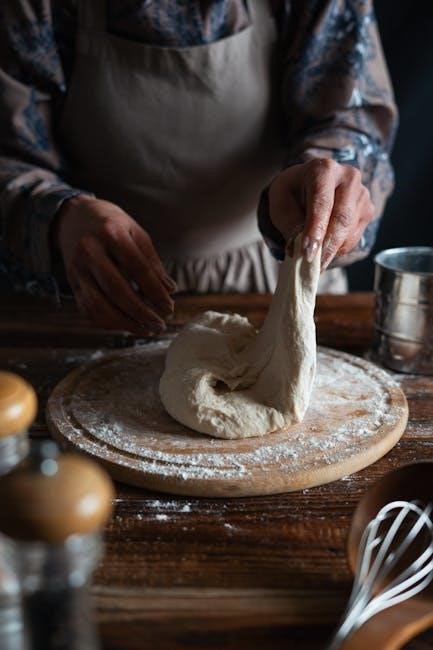
How it works: This program focuses solely on kneading and the first rise, omitting the baking phase. Your manual will detail the appropriate ingredient quantities and order for various dough types. Typically, it involves adding flour, water, yeast, and a touch of oil or sugar.
Post-program steps: Once the Dough program completes, remove the dough from the pan and proceed with your recipe – shaping pizza, rolling out pastries, or forming rolls. Remember to consult your manual for specific program durations and adjustments based on your desired dough consistency. Enjoy fresh, homemade goodness!
Customizing Your Bread
Personalize your loaves! Your Cookworks breadmaker allows adjustments to crust color and ingredient additions, as detailed in the instruction manuals.
Experiment with fruits, nuts, and seeds to create unique and flavorful bread variations tailored to your preferences.
Adjusting Crust Color
Achieve your perfect crust! The Cookworks breadmaker offers settings to customize the crust’s darkness, ranging from light to dark, as outlined in your model’s instruction manual.
Control Panel Options: Typically, you’ll find dedicated “Crust Color” buttons or a menu option on the control panel. Selecting these allows you to cycle through the available settings.
Understanding the Levels: A “Light” setting results in a paler, softer crust, ideal for sandwiches. “Medium” provides a balanced color and texture. “Dark” delivers a robust, deeply browned crust, perfect for artisan-style loaves.
Experimentation is Key: Start with the medium setting and adjust based on your preference. Remember that humidity and ingredient choices can also influence the final crust color.
Refer to your manual for specific instructions related to your Cookworks breadmaker model, ensuring optimal results and delicious, customized bread.
Adding Ingredients (Fruits, Nuts, Seeds)
Enhance your loaves! Your Cookworks breadmaker allows for adding delightful ingredients like fruits, nuts, and seeds, enriching flavor and texture – consult your manual for guidance.
Timing is Crucial: Most models feature a dedicated dispenser or recommend adding ingredients during the second kneading cycle. This prevents them from being crushed prematurely.
Dispenser Use: If equipped, place dry ingredients into the dispenser. The breadmaker will automatically add them at the appropriate time.
Manual Addition: For models without a dispenser, carefully add ingredients during a pause in the kneading process, signaled by the machine.
Ingredient Amounts: Generally, limit additions to 1-2 cups to avoid disrupting the dough’s consistency. Always refer to your specific model’s instruction manual for optimal results.

Troubleshooting Common Issues
Facing problems? Consult your Cookworks breadmaker’s manual for solutions to issues like rising failures or collapsing loaves, ensuring baking success!
Bread Not Rising
If your bread isn’t rising, first, double-check the yeast’s expiration date and ensure it’s being activated correctly – warm water (around 105-115°F) with a pinch of sugar is ideal. Refer to your Cookworks manual for precise measurements.
Insufficient yeast or using old yeast are common culprits. Also, verify you’ve selected the correct program for your dough type; a ‘dough’ setting won’t bake! The instruction manual emphasizes proper ingredient order – liquids first, then dry ingredients, with yeast last.
Ambient temperature can also play a role; a cold kitchen may slow activation. Consult the manual regarding ingredient quantities; too much salt can inhibit yeast activity. Finally, ensure the bread pan and kneading blade are securely in place.
Bread Collapsing
If your freshly baked bread collapses, excessive liquid is a primary suspect. Your Cookworks breadmaker’s instruction manual stresses precise measurements; always use measuring cups and spoons. Too much yeast can also cause a rapid rise followed by a collapse, so adhere to the recipe’s specifications.
Another cause could be interrupting the baking cycle prematurely. The manual warns against opening the lid during baking, as this releases heat and can disrupt the structure. Ensure you’ve selected the appropriate crust color setting; a lighter crust may be weaker.
Over-kneading, though less common, can also contribute. Refer to the manual for program-specific kneading times. Finally, a sudden temperature change after removing the bread from the machine can cause it to sink – let it cool completely on a wire rack.

Cleaning and Maintenance
Regular cleaning, as detailed in your Cookworks manual, ensures longevity; Always unplug the breadmaker before cleaning the pan, blade, and housing with a damp cloth.
Cleaning the Bread Pan and Blade
Thorough cleaning of the bread pan and kneading blade is crucial after each use, as outlined in your Cookworks instruction manual. First, ensure the breadmaker is unplugged and cooled completely. Carefully remove the bread pan and blade.
Wash these components in warm, soapy water. Avoid using abrasive cleaners or scouring pads, as they can damage the non-stick coating. For stubborn residue, soak the pan and blade for a period before washing. The blade can be carefully removed from the pan for easier cleaning.
Ensure both are completely dry before reassembling and storing. Some manuals suggest a dishwasher is acceptable, but hand washing is generally recommended to prolong the lifespan of the non-stick surface. Regular maintenance prevents buildup and ensures optimal performance.
Cleaning the Breadmaker Housing
Maintaining the exterior of your Cookworks breadmaker is simple, as detailed in the instruction manual. Always unplug the appliance and allow it to cool completely before cleaning. Use a soft, damp cloth to wipe down the housing. Avoid using harsh chemicals, abrasive cleaners, or excessive water, as these can damage the finish.
For stubborn stains, a mild detergent solution can be used, but ensure it’s thoroughly wiped away with a clean, damp cloth. Never immerse the breadmaker housing in water or any other liquid. Pay attention to cleaning around the control panel, being careful not to get moisture inside.
Regularly wiping down the housing will keep your Cookworks breadmaker looking its best and ensure its longevity. Proper care contributes to the appliance’s overall performance and lifespan.